Wednesday, November 10, 2010

Advent calendar-part 1


Growing up I remember always loving putting up our advent calendar. It was green with a little snowy scene with little mice. It had 25 little pockets all lined up and my mom and I would fill it with little chocolates or candies of the Christmasy sort. It hung at the bottom of our stairs on a rustic real wood wall. I loved it. It still makes me smile. My mom still has it actually, and I hope it inherit it one day. But for now I'm making one for my kids. Not with the same image but I'm keeping with the design. I am so excited to share this tradition with kids.

Now this isn't a hard project but has a lot of steps so I'm breaking it up into two parts. One thing I hate about some tutorials (mine included) is that they seem to go on forever and I find myself just scrolling through not really reading and then I just take the idea a wing it. Well, I do that no matter what actually, which usually leads to fails that I have to start the project over! But this one so far is coming together amazing.

I didn't design the applique myself this time because I wanted to make the process a little shorter. I went to Wee Folk Art which is the first ever craft blog I ever read plus the first tutorial I ever used. If you haven't been there GO! The Mother-Daughter team is amazing, they have so so so many amazingly great tutorials, appliques, recipes and ideas.

I did use their applique design but of course tweaked it a bit. I added and extra tier to the bottom, took out the snowy background and added a trunk, and flipped the direction the top points. I also didn't follow the directions for the stitching.

Okay, enough chit chat here's Part one of my Advent calendar, the top appliqued panel.

You'll need:
Applique design-here is the adorable Wee Folk Art one I used
Embroidery supplies
Fusible fleece
Buttons or other tree embelishments
Felts-I used an evergreen for the tree, dandelion for the star, buttermilk for the back that will be behind the pockets, dolphin for the back pieces, sky blue for the applique background, and red for the pockets.

Let's get going by cutting out your pattern pieces from your felt and lay them out how you want them.

Now place your design on your background felt where you wan it and trim you felt so it's a workable size. My felts are 12x12 by default so I cut it down to about 9x7.

Now stitch your pieces together and lay your design back on your background.


Once you have your design where you want it stitch it to the background by going all around the outer lines.

Then I stitched the second star on top of the one that was already on there.

Then I stitched some straight lines on the truck to make it a little bark like.


Here is what it looks like.


Now position your embellishments. I took a picture once I had them all where I wanted them so when I took them off I could refer back to it for placement.
Then I sewed them on.

Next I stitched little stars/snowflakes all over the background.

This is it for the applique portion. See you on Friday for the rest of the calendar!
Now go see the ladies over at Weefolkart.com for some great inspiration!


As with all of my projects, I have designed them for my family and love to share with you so you can have them for your families as well. All projects, patterns and directions are meant for your personal use and neither the patterns nor completed projects are to be used for monetary gain.

Monday, November 8, 2010

I made my own onesie extenders

With the weather starting to cool and starting to put a little more on the little ones I need to stretch my imagination a bit to work with what I have because as we all know money doesn't grow on trees. I know you can buy these at the store but why not just make a couple and save the few dollars? I've been thinking about trying to make some of these for a while now anyway. So I grabbed some old onesies that were too stained for Peanut to wear and got cutting. It's fairly easy and quick. They aren't beautiful but they are hidden anyway and I saved a few dollars. Here's what I did.

Take your onesie and cut it like this.


Then cut two pieces like this.


Then layer them like this.


Then sew/serge the mid-seam like this.


The open up like this.


Then serge/sew down the sides like this.


At this point I tried it on Peanut and it was too big so I serged the mid-seam again to make it shorter.


When I was done I had this.


Here it is on Peanut. As I said, not beautiful but it's functional!


I'm pretty proud about not only saving money but making my daughters wardrobe last longer and in effect saving money on new clothes too!


As with all of my projects, I have designed them for my family and love to share with you so you can have them for your families as well. All projects, patterns and directions are meant for your personal use and neither the patterns nor completed projects are to be used for monetary gain.

Friday, November 5, 2010

This Moment-Hand in Hand


This moment: a Friday ritual inspired by soule mama
a single picture, requiring no words, yet telling a story worth remembering!

Wednesday, November 3, 2010

Greeting Card gift box tutorial

Here it is! My Greeting Card Gift box. I've been making them since Christmas 2006 and generally make them a lid but I like this version better. Okay, to be honest I started out making this one planning to make one with a lid but I messed up the lid and didn't want to show that fail! But I'm happy with this, it turned out really cute and you have more wiggle room if your gift is oddly shaped or sized than you would if you had to deal with a closing lid.

I use new cards but you can use "given" ones if you want. I use new for a couple of reasons. #1 There's no writing to cover. #2 I can use the same designs if I want to. #3 I like to go to the drug store when the Christmas stuff comes out and shop for the cards when they are 2 boxes for $5!

So you'll need:
4 cards
Glue
Cutting tools
Ruler
Blue painters tape (not required but useful)
Ribbon


Start by cutting the cards in half. You'll use the fronts of all 4 and the inside sentiment part of 1. You can save the other 3 sentiment halves for another project or box.


Now decide which images are going to be front/back and sides. Take the two that are going to be the front and back and cut off 1/4 inch on both sides of both the front and back pieces.


Now take the two side pieces, make an indentation 1/4 inch from both edges.


Now snip the corners making sure not to got past the indentation lines then fold those sides in.
Now taking your front piece and run a bead of glue close to the edge of both sides and glue to the flap of one side piece on each side then run a line of glue down one edge of the back piece and glue it to the flap so they all end up in "presentaion board form". (This is where I use the blue painters tape. After I glue it helps to hold the pieces together to dry then comes off really well. You could also use clothes pins but somehow I've managed to lose all of mine and this works really well!) Also make sure your flaps are always on the inside of the box.


Now glue that last flap to the inside of back/front piece (at this point it's just 4 walls so I lost track of the front and back!) And let dry about 45 minutes.


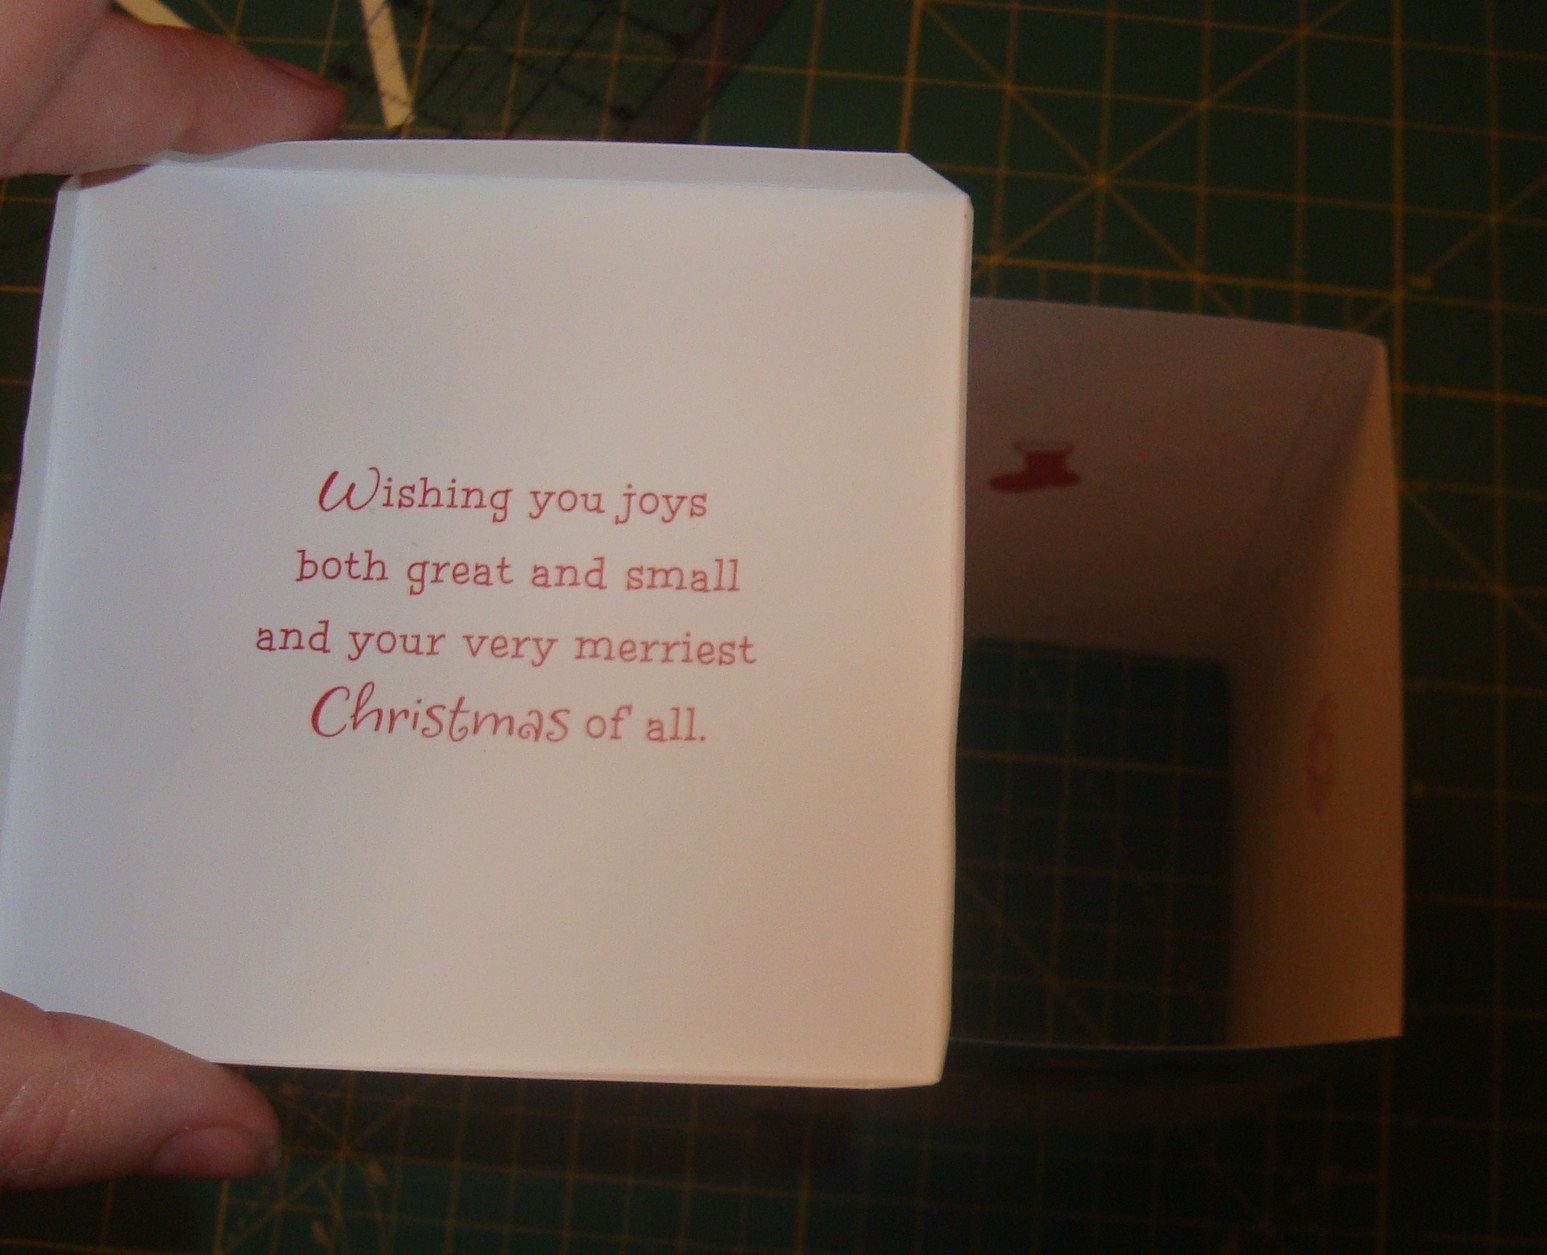
Now for the bottom take your sentiment part and put a 1/4 inch indentaion down both sides. Now measure the space between the indentations and centering the sentiment make indentaions above and below the sentiment to make a square that will fit just right in the bottom of the 4 wall box. Cut out with 1/4 inch flaps on all 4 sides. Snip the corners and fold in the flaps and push to bottom of the box.


Now put glue on the flaps and use the tape again to hold it together while it drys.


Now you can leave it as is and fill and give, no problem, but a little ribbon handle adds a nice touch.
So take a 10 inch piece of ribbon, I used a 3/4 inch red with little flowers, and tie a knot in one side. Now take your box and cut a small slit in both sides about an inch or so from the top and insert the ribbon. Then through the other side and tie a knot there to hold the ribbon in place.


Now your all set to fill and give! I like to use these to package cookies, they are the perfect size and it adds another handmade touch! Plus wit the ribbon handle it can be hung on the Christmas tree!


I'm sharing on


As with all of my projects, I have designed them for my family and love to share with you so you can have them for your families as well. All projects, patterns and directions are meant for your personal use and neither the patterns nor completed projects are to be used for monetary gain. 

Tuesday, November 2, 2010

Just had to share this!

I got this as an email from my Mom. I just C&P it. Feel free to keep it passing on!


Be sure to read the fable below

Have you ever seen a baby
porcupine?


cid:1.833850758@web180506.mail.gq1.yahoo.com

cid:2.833850758@web180506.mail.gq1.yahoo.com

cid:3.833850758@web180506.mail.gq1.yahoo.com


Fable of the porcupine--- It was the coldest
winter
ever. Many animals died because of the
cold. The porcupines, realizing the situation, decided
to group together. This way they covered and protected
themselves; but the quills of each one wounded their closest
companions even though they gave off heat to each other.
After awhile, they decided to distance themselves one
from the other and they began to die, alone and frozen.

So they had to make a choice:

Either accept the quills of
their companions or disappear from the Earth. Wisely,
they decided to go back to being together. This way they
learned to live with the little wounds that were caused by the
close relationship with their companion, but the most
important part of it, was the heat that came from the others.
This way they were able to survive.

Moral of the story:

The best relationship is not the one that brings
together perfect people, but the best is when each individual
learns to live with the imperfections of others and can admire
the other person's good qualities.

The Moral of the story!

LEARN TO LOVE THE PRICKS IN YOUR LIFE.