Showing posts with label sewing. Show all posts

Friday, June 24, 2011

Making (baby, toddler or) kids pants


               Peanut is in need of new play and PJ pants. I don't think I've ever bought her a pair of pants... except the ones that were with sets bought for birthdays or holidays. She/I have been given enough for normal use and I make the rest. Not being a fan of commercial patterns I make my own. For Peanut I make a new one about every 6 months as she is a teeny-tiny little munchkin. So I figured I would show you how I do that, without using a pair of already exsisting pants. You can google how to make baby/kids/toddler pants all day long and 99.8% of them will have you use a pair of exsisting pants as your starting point. My way, you kind of learn how to draft on your own a bit.

First I should mention that I'll let you know where I made simple little mistakes and what to do to fix them. This may seem daunting but once you do it the first time you'll see it is actually very simple. I would go as far as to say it's good even for a beginner. Second, I don't pin. Like, anything... ever. I used to though so feel free to pin as you need. I just hold the fabrics together and the edges stay together pretty darn well!

So here goes!

Measure your pants recepiant. Peanut's waist is 17 inches around, inseam is 12 inches and total lenght from hip to heel (which I call sideseam) is 18 inches.
With these measurments I know I need to add inches to all measurments to make the pattern.
I used craft wax paper, newspaper, poster board, or whatever I have around. If your lucky enough to have pattern paper, more power to you!

This is the shape you want.

This is how to figure it out. Using a pencil first, draw your top waist piece, this pattern is half of a whole so say your waist measurment is 17 inches, round up to 20 then divide by 4. So your top waist line should be at least 5 inches.
For the rear/groin area take the total sideseam measurment and subtract the inseam, in this case, 18 minus 12. The drop down line needs to be about 2 inches longer than the total, so the drop down line in this case needs to be at least 8 inches long. The curve I usually make about 2 inches in.
For the next line you'll be making the inseam. Peanut's inseam is 12 inches so I make the pattern inseam line 13 inches. Once you have the pattern done in pencil you can go over it in permanent marker and take a picture for future reference, then cut out your new pattern!

To use your pattern you are going to fold your fabric in quarters (fourths, whichever term you prefer). Lay your pattern with the straight side on the edge that contains both folds. (Now here is something important to remember: The pattern measurements are for a fabric that stretches a bit, like jersey. If your fabric does not stretch, like flannel, put your pattern in about an inch from the folded edge to make the pants a little bigger to make sure the pants wearer won't rip the seams when they go to sit down. Again experience!)


Now the easiest way I've found to cut out the fabric is to use my rotary cutter and acrylic ruler. I lay the acrylic ruler down along the very edge of te pattern so as not to cut it. First cutting the long side, then top the rear/groin area. Once it's cut out you should have two pieces that look just like these. (If by some chance you accidentally cut the center seam and ended up with 4 pieces exactly like your patter don't fret you can fix it! Simply sew the pieces together so they do make this. Sew with about 1/4 inch seam though as not to make the pants much smaller. Aren't you loving learning from my mistakes?)

Now you are going to put the piece together right sides together and sew the "J's". Also, serge it if you've got it! If not a zig zag stitch at the edges with work.
This next step will make your pants look like pants. Pick up the pants in the middle of the top layer of fabric.

Meet the two "J" seams in the middle, like so.

Laying them down flat, now you should have this.

I don't know about you but I really don't find hemming a fun task so I make my bottom hems now, before the legs are sewn into legs! For this, just serge (or zig zig) the raw edge. Then sew a half inch hem. Easy, yes?

Now, laying the pants flat like before, you're going to sew from one hemmed bottom to the other, continuous, and easy.

Again, serge or zigzag the raw edge.

Now on to the last part, the waist band. I favor elastic so this is how to do that, if you get adventurous a drawstring works really nicely too. First serge or zig zag your top waist edge.

Since Peanut's waist is 17 inches I cut 17 inches of 3/4 inch wide elastic. Now I do the usual, fold over the edge to make a casing just a hair bigger than the elastic. Sew leaving about two inches open to insert the elastic, and run the elastic through with a safety pin. You can also use this method, which I've tried but still like the old way better. Maybe it'll get more natural the more I do it though!

You should end up with something like this,
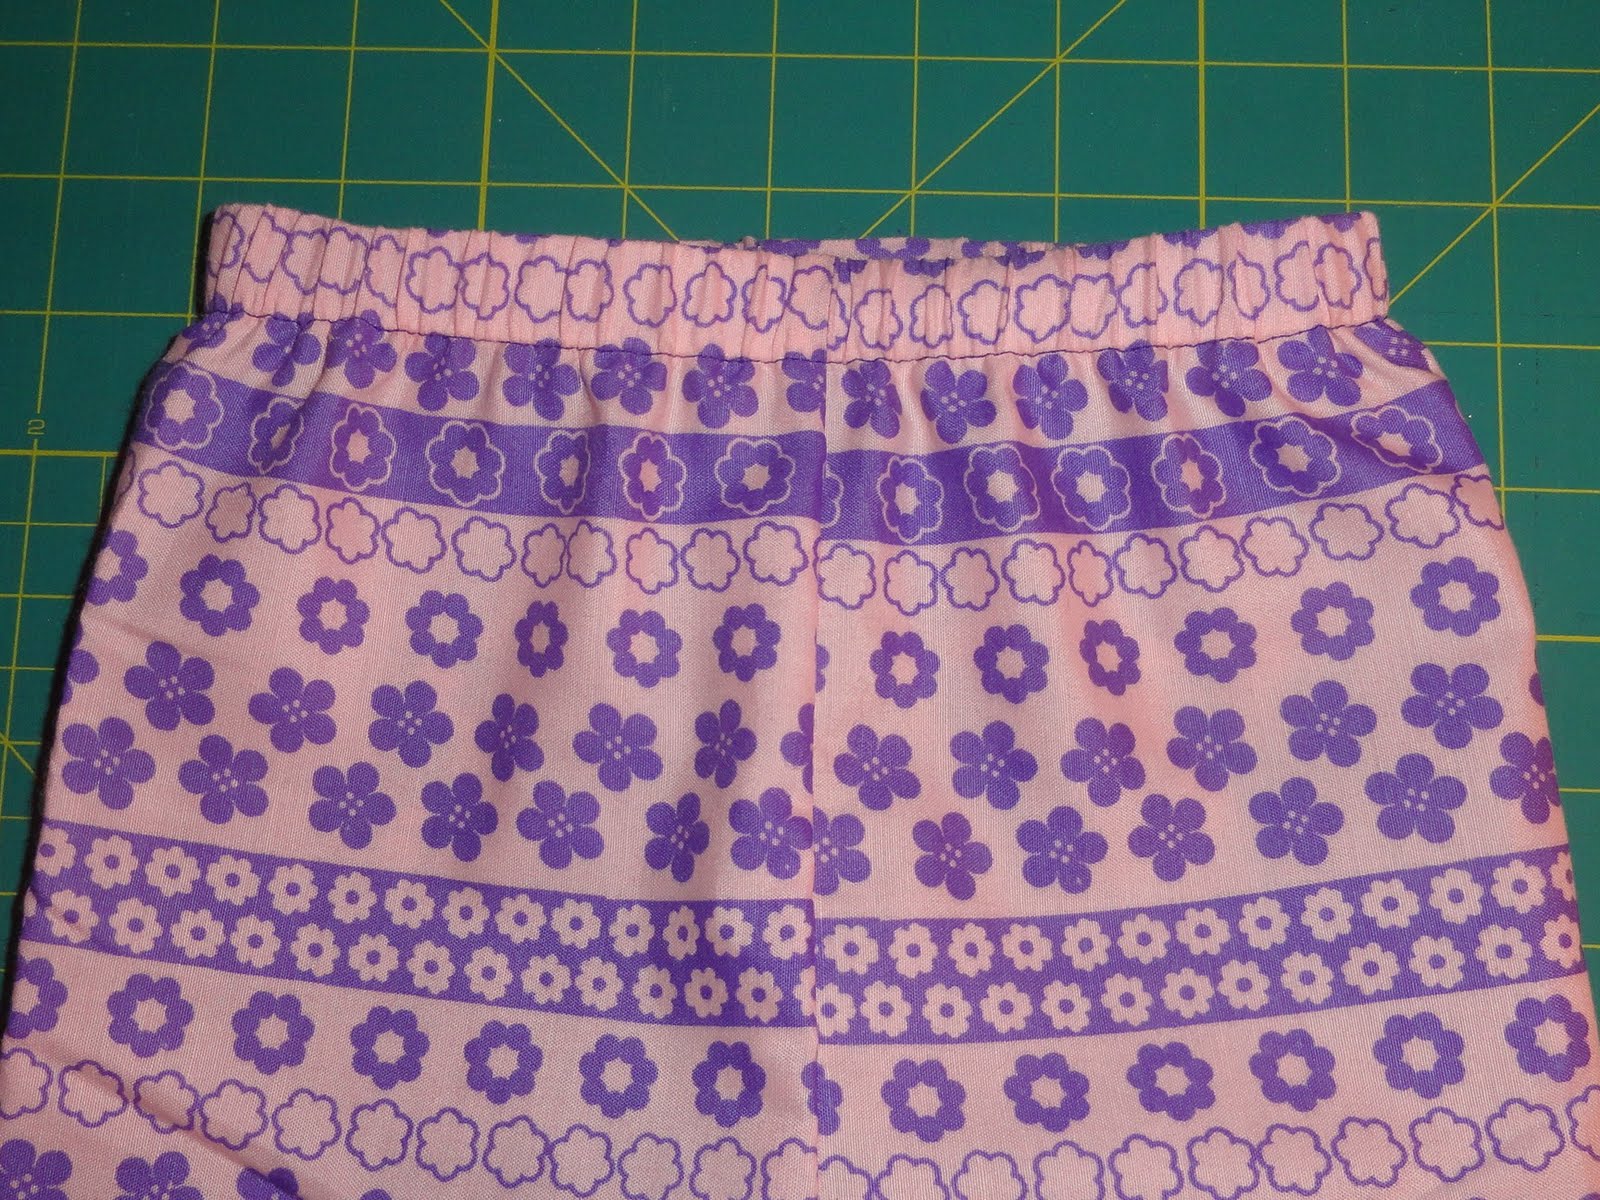
You did, right? Of course you did! Now try them on their new owner!

And it is totally optional to let her dance on your desk because she loves the new pants you made!
Oh! And don't forget to keep your pattern in a safe place and mark it as to when you made it or what size it fits!

Sharing on


Wednesday, June 22, 2011

Tooth Fairy pillow

               Doodle Bug lost another tooth yesterday. Unfortunately we also lost his original tooth holder. No worries, Super Mommy to the rescue! The old one was made of super sturdy craft felt and I really like it. I will find it one day, probably stuck into a sock or somewhere else just as strange! This time I let Doodle Bug design it. He wanted a little tooth shaped pillow on a pillow. I did my best to oblige. I added a hanging handle as well though for ease of access. This is what we ended up with.

This is how we did it.
Make a tooth template

Trace template onto felt scrape

Cut out tooth

Stitch tooth dimension then stitch tooth to fabric scrap (leave top open though to stick your tooth in!)


Fold in half, sew edge and bottom, flip right side out

Stuff pillow with small amount of poly fill and stuff a little into the bottom of the tooth

Baste the top closed

Sew on a bit of bias tape

Make a handle with bias tape
There you have it, a tooth fairy pillow made from scraps! Enjoy your tooth-less wonder and sleep tight!

Sharing on


Wednesday, June 15, 2011

Sewing to sew

First ever thing I've listed on Etsy! For sale right now!
               Unfortunately I'm a people pleaser by nature. I will do what I think people want until I don't remember what I was trying for in the first place. This causes me to lose focus. I'm really talking about my sewing and crafting right now. I'm always scouring the blogs to see what things people like and make and purchase. But in doing this I forget to just make things from the heart. If I make things that are too close to other things that are already out there it's pointless. They won't want the same things they can get somewhere else. When people buy handmade items they are looking for unique, not the same old things they've seen everywhere else! So why should it matter what anyone else is doing or what colors or patterns or whatever they are using? I'm not a "follow the rules" seamstress anyway! I don't generally use commercially sold patterns, I barely ever use straight pins, I sew bias tape wrong (I think), and I don't measure unless it really needs it.
               To lift my sewing block I need to just do my thing. After all that's what people like about my stuff, right? My mom loves her purple patchwork purse, Doodle Bug's teacher loves her sunflower bag and over-the-shoulder water bottle holder. Peanut still loves the kitty I made her for her first birthday. Doodle Bug still loves his pants and multiple crayon, pencil and marker holders. So I just need to get up, shake it off, and sew!

Monday, March 7, 2011

Applique patch toddler toy tutorial


 I spent a good deal of time this weekend hunting and gathering... new craft supplies that is. After going down every isle in the Wal-Mart craft section and hunting out odds and ends that were on sale or clearance, I headed to Joann's. Twice. Oh, and also to Michael's. Between lowered prices, coupons, and Peanut finding shiny things I came away with a nice new stash of pretty, fun, and potentially useful items. See?

Now I have so very many project ideas floating around my brain! I excited to get some going to share with you all!

Today is a really easy, quick project, in less than ten steps.
Peanut found this pretty butterfly patch on clearance and I don't think she realizes what it is. To her it's a toy, so I'm making it into one for her. She also recently started carrying a little purse around with her to hold her dearest possessions, so this will fit perfectly if she wants it to. Little hands need little toys right?

You'll need:
Applique patch
Iron
Scrap fabric
Little bit of stuffing
Basic sewing supplies

*Also you could do this with a patch on each side, instead of one. There was only one left when Peanut found us this little guy.*

Step one:
Cut two pieces of your scrap fabric roughly the shape of your patch and about 1-1/2 inches bigger all around.

Step two:
Iron on your patch to the middle of one shape.

Step three:
Sew around the edges of the patch for extra playablity!

Step four:
With right sides together, sew around the edges of the fabric, leaving a small opening for turning and stuffing.

Step five:
Turn right side out, pushing corners out with a chopstick (or whatever pointy object you prefer).

Step six:
Stuff to desired feel. I like it to be a little more on the hard side.

Step seven:
Sew opening closed. You can use a machine or do it by hand. I used the machine this time. I usually do it by hand because it's tough trying to get such a little thing under the machine after stuffing and I can use tiny little stitches when I do it by hand.

Now, there you go. A "little hand" friendly take along toy!
Enjoy! See you Wednesday!


Shared on


As with all of my projects, I have designed them for my family and love to share with you so you can have them for your families as well. All projects, patterns and directions are meant for your personal use and neither the patterns nor completed projects are to be used for monetary gain.

Wednesday, March 2, 2011

Mermaid-made!

I got my mom's Carnival costume ready just in time. She hopped her plane this morning, with her pretty purple costume tucked away neatly in her luggage. I'm actually pretty proud of myself. Not being a commercial pattern user I was unsure of how well the whole thing would turn out. I did however base it loosely on their instructions. Well actually I just used the tail pattern part and did the rest my own way, it saves so many steps! Here it is, the third thing I've ever made using a commercial pattern!

I had planned to post this today and was so excited about that! However I forgot to take my own pictures before sending it off with my mom so these pictures are courtesy of her at 1 in the morning while she packed for her trip!


Now that I'm done with the mermaid, I have to de-glitter my living room and get back to other random projects to share with you all!