Tuesday, October 5, 2010

Sneak peek of a couple of little things to come!

I know it's October and I should be thinking about Halloween but I'm already trying to skip ahead to Christmas! On the Halloween front though I've already got the kids costumes (which this is the first year I've bought both costumes, and only the second time I've ever bought any!) so the only thing left was trick or treat bags. Of course I could have just grab the ones from last year and been done with it but it seems I have to make new ones every year! So sometime in the next week these 3D Applique Trick or Treat bags will make their debut with the tutorial.

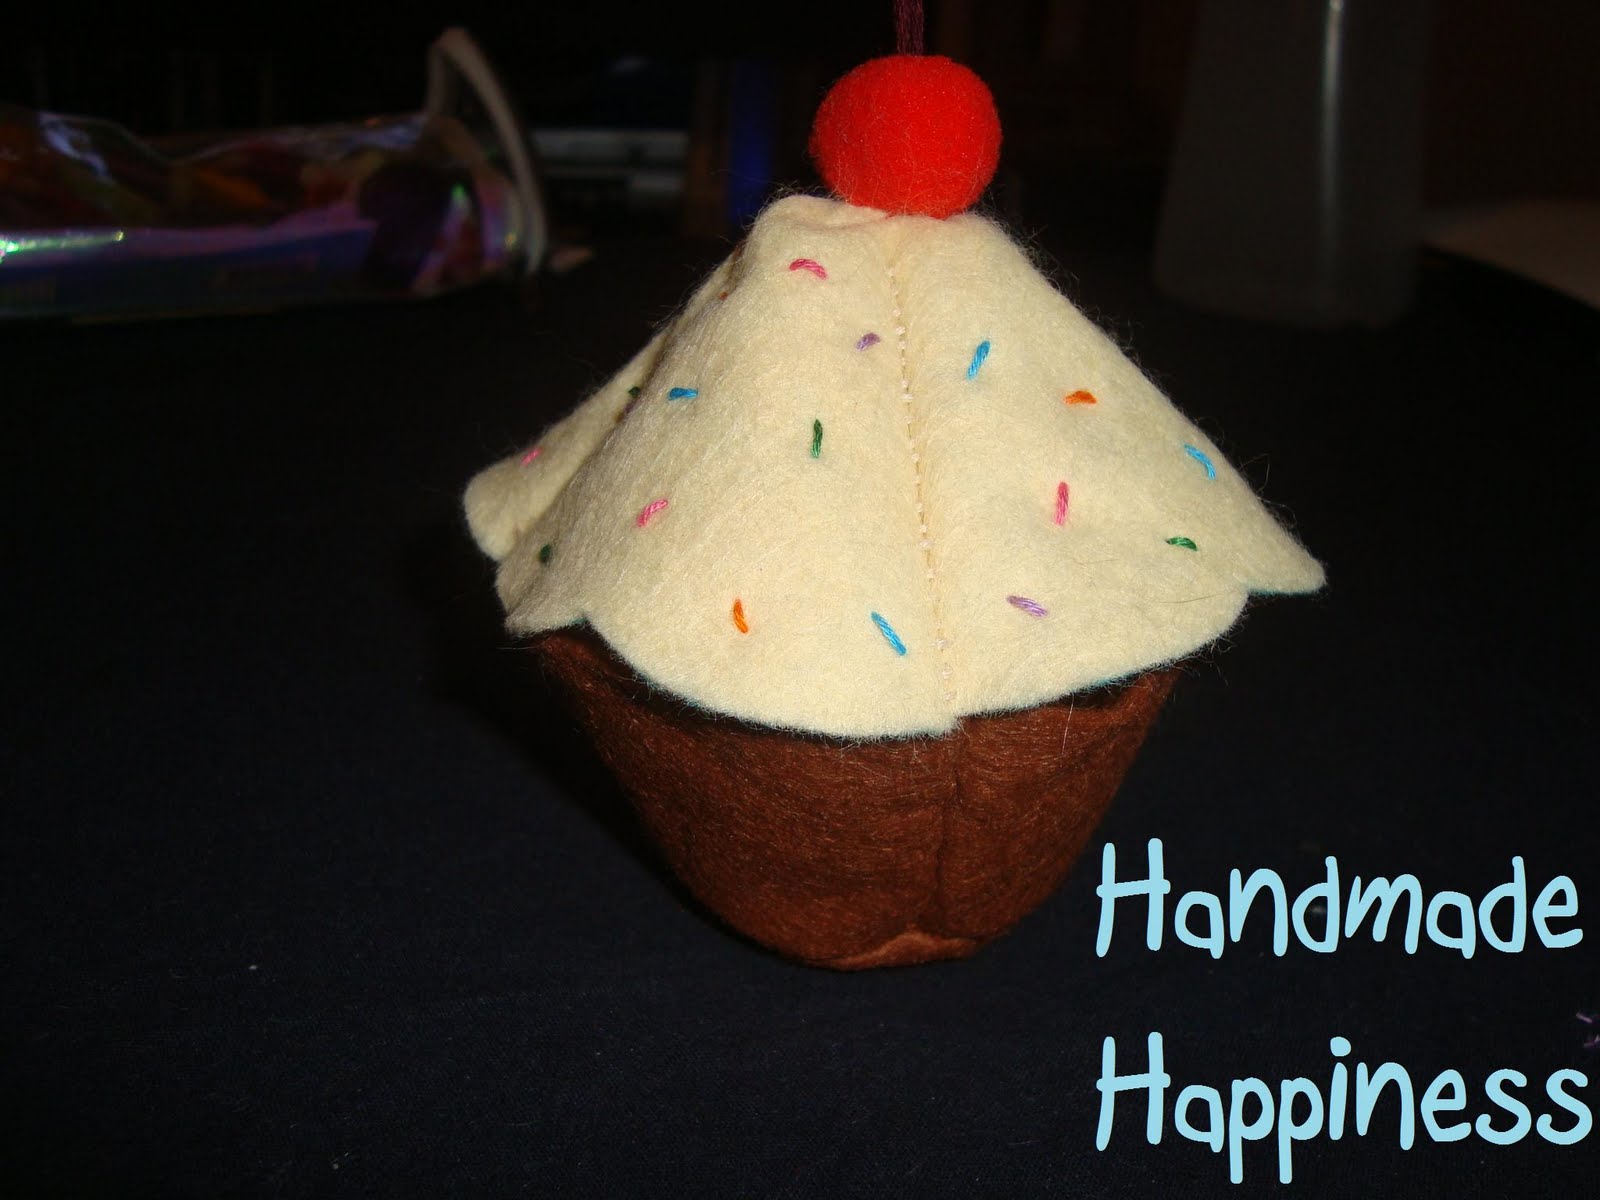
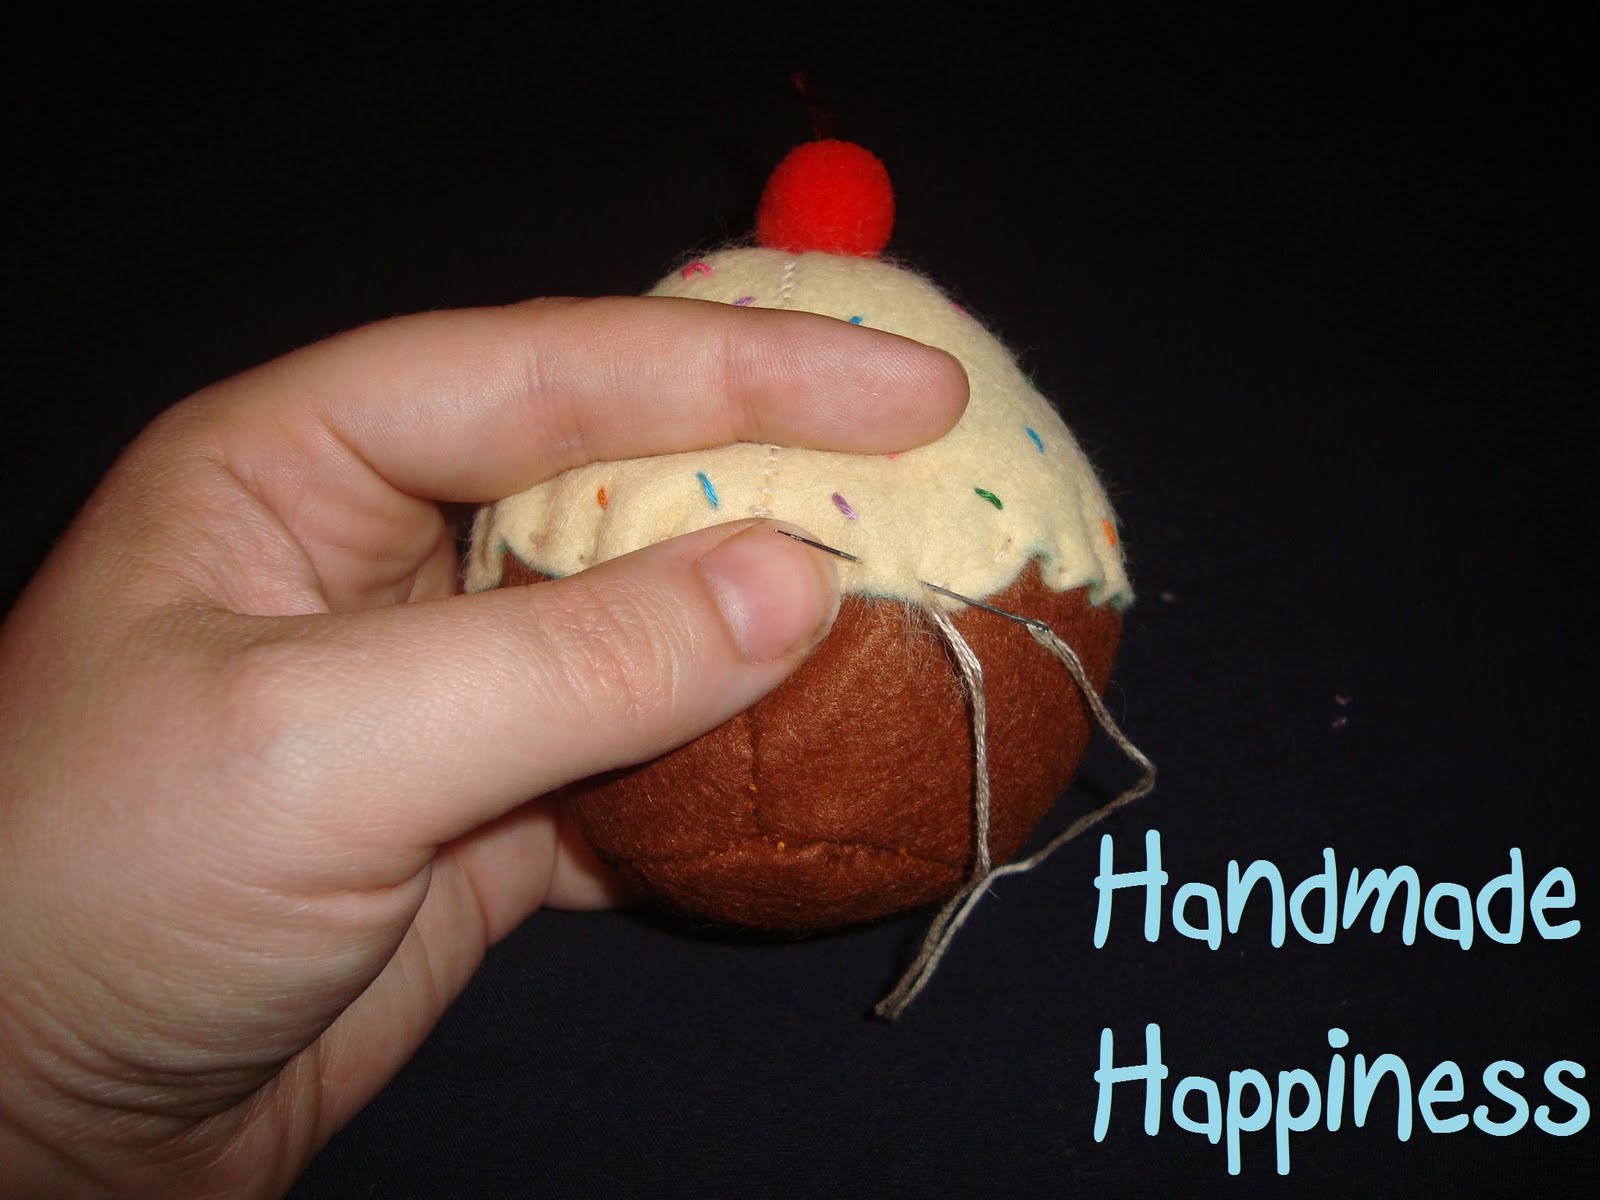
They are so simple and totally customizable!

Also I'm a South Floridian so I'm big on the Hurricane Preparedness. Seeing as we're well stocked on bottled water, non perishable food, batteries and communication devices now I think about keeping the kids busy. It's generally not comfortable to play inside so a lot of the times are spent playing outside. So I'll be writing a little about what I do and at least one homemade game to play anywhere that will entertain the little ones while waiting for power to be restored... and AC!

And lastly, but so totally not least, I'm going to do a "Meet my Monsters" post about the fam so you'll know who I'm talking about all of the time. In this I'll also introduce our take on the kids "exception". This post may come sooner or later than the other two, I haven't decided yet.

I'm also going to try to take some nice photos of my projects. I'm obsessive about pictures and take about 12 every time I point my camera at something, hey you get a little difference each time! It sometimes bugs/bores hubby! Eventually, hopefully sooner rather than later, I'll be going to school to be a Photographer, but for now I'll have to do what I can. Maybe some pictures during the day would be good! I usually end up finishing a project during the night while the Peanut and Doodle Bug are sleeping! I don't have a lot of usable space inside right now due to remodeling but outside might be good...

So stay with me! It'll be fun, I promise!

Sunday, October 3, 2010

We made Pizza Pasta!


This is one of my son's favorite recipes to help with because it's super easy and tasty! It really is more of a guide line than a recipe because it really is thrown together by eye.

You'll need:
1/2 box of your favorite pasta
jar of pizza sauce or 2/3 jar of you favorite spaghetti sauce
1 cup shredded mozzarella cheese
Italian seasoning
1/2 cup chopped pepperoni
Any additional 'toppings' you like. I throw in some mushrooms and black olives when I have them.

Cook your pasta as you normally would and drain. Add your sauce and topping and heat over low just so it is heated through. Add 3/4 of your cheese and mix throughout. Scoop servings into bowls and sprinkle with addition cheese and a little Italian seasoning with some garlic bread on the side and your all set for a yummy dinner your kids will love too!

Thursday, September 30, 2010

I DID IT! I made a button!

Finally, I figured it out. And it was one of those 'Duh, you should have known how to do that' moments! Go figure! Either way I'm really excited to have done this all by myself. It will have a nice little home on my sidebar after this post is up so grab it, show it and make me happier!!

(I'll probably change the image soon though, because this one came out kind of grainy once I shrank my drawing to fit.)


Now if only I could figure out how to make my own background...
P.S. I get the self-teaching-computer-geek from my daddy. One great thing me passed on to me before he passed on.

Tuesday, September 28, 2010

Finally, felt cupcake tutorial!


I've shared this tutorial on The Sugar and Spice Weekly Link Party at BCD 125


It's my birthday tomorrow, so I figured it would be the perfect day for my felt cupcake tutorial! I only have one to show you right now as the other 5 are in the middle of "baking"!

You will need:
*Template- click here
*Felt for bottom and side of cupcake. In this case, it's chocolate brown.
*Felt for frosting. This one is a cream cheese frosting.
*Matching embroidery thread for both.
*Poly fill
* optional-4 to 6 different brightly colored embroidery threads for sprinkles
* optional-red pompom and maroon embroidery thread for cherry


Now that you have all of you supplies, lets get started.
Cut out your pattern pieces from your felts.

Sew the triangle cutouts together to form your cupcake top.


Embellish you top now. I added colorful sprinkles all over by just taking 2 stands of embroidery thread, and "sprinkling them all over in random order to look like real sprinkles.


I also added a cherry I made myself. To do this take a cherry sized pompom and threaded 4 stands of maroon embroidery thread through the center of it starting at whatever point will be the bottom.
Pull the threads tight at the top and go back down to the bottom and then back up to the top. If you pull it tight it will hid the threads and make a little pucker in the top like a real cherry.
Now place a knot about an inch up to make your stem. Cut the excess as close to the knot as your comfortable with.


Sew to the top of the topper. You now have your cupcake top.


Onto the bottom, take the curved side piece and sew together the edges to make a little open ended cone.


Keeping the cone with the stitched side out, sew the small round bottom onto the cone.


Flip right side out so stitching is all on the inside of you cupcake bottom now.


Carefully line up your top to your bottom (you could pin it to keep it in place but I don't have a picture of this).


Stitch along the edges, making sure to always hit both the bottom and top with each stitch. Leave about 1-1/2 inches open to stuff.


Now stuff to desired feel and sew up the rest of the edge.


I made these to fit into a regular muffin pan so I could make a half dozen and it would be perfect for play.


I'm off to celebrate with my family! Have a great day!


As with all of my projects, I have designed them for my family and love to share with you so you can have them for your families as well. All projects, patterns and directions are meant for your personal use and neither the patterns nor completed projects are to be used for monetary gain.