 Here it is! My Greeting Card Gift box. I've been making them since Christmas 2006 and generally make them a lid but I like this version better. Okay, to be honest I started out making this one planning to make one with a lid but I messed up the lid and didn't want to show that fail! But I'm happy with this, it turned out really cute and you have more wiggle room if your gift is oddly shaped or sized than you would if you had to deal with a closing lid.
I use new cards but you can use "given" ones if you want. I use new for a couple of reasons. #1 There's no writing to cover. #2 I can use the same designs if I want to. #3 I like to go to the drug store when the Christmas stuff comes out and shop for the cards when they are 2 boxes for $5!
So you'll need:
4 cards
Glue
Cutting tools
Ruler
Blue painters tape (not required but useful)
Ribbon

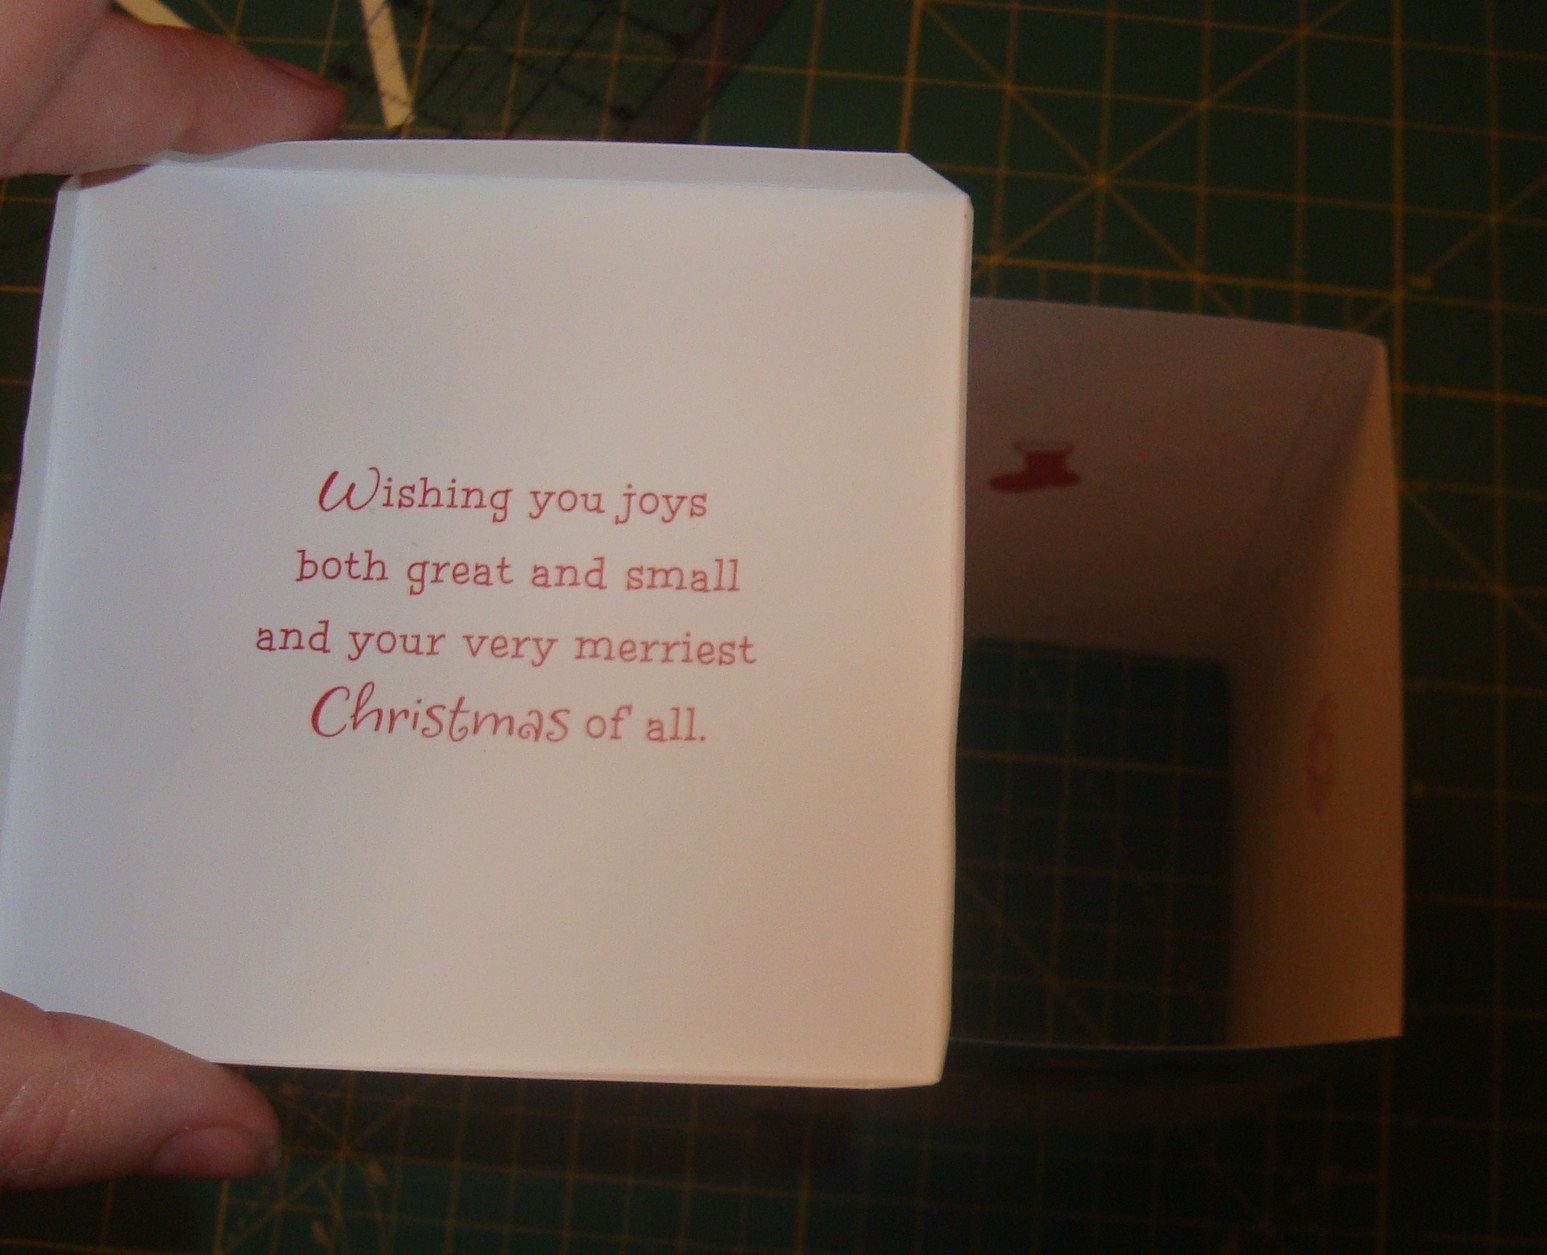
Start by cutting the cards in half. You'll use the fronts of all 4 and the inside sentiment part of 1. You can save the other 3 sentiment halves for another project or box.


Now decide which images are going to be front/back and sides. Take the two that are going to be the front and back and cut off 1/4 inch on both sides of both the front and back pieces.

Now take the two side pieces, make an indentation 1/4 inch from both edges.


Now snip the corners making sure not to got past the indentation lines then fold those sides in.


Now taking your front piece and run a bead of glue close to the edge of both sides and glue to the flap of one side piece on each side then run a line of glue down one edge of the back piece and glue it to the flap so they all end up in "presentaion board form". (This is where I use the blue painters tape. After I glue it helps to hold the pieces together to dry then comes off really well. You could also use clothes pins but somehow I've managed to lose all of mine and this works really well!) Also make sure your flaps are always on the inside of the box.


Now glue that last flap to the inside of back/front piece (at this point it's just 4 walls so I lost track of the front and back!) And let dry about 45 minutes.

Now for the bottom take your sentiment part and put a 1/4 inch indentaion down both sides. Now measure the space between the indentations and centering the sentiment make indentaions above and below the sentiment to make a square that will fit just right in the bottom of the 4 wall box. Cut out with 1/4 inch flaps on all 4 sides. Snip the corners and fold in the flaps and push to bottom of the box.


Now put glue on the flaps and use the tape again to hold it together while it drys.


Now you can leave it as is and fill and give, no problem, but a little ribbon handle adds a nice touch.
So take a 10 inch piece of ribbon, I used a 3/4 inch red with little flowers, and tie a knot in one side. Now take your box and cut a small slit in both sides about an inch or so from the top and insert the ribbon. Then through the other side and tie a knot there to hold the ribbon in place.

Now your all set to fill and give! I like to use these to package cookies, they are the perfect size and it adds another handmade touch! Plus wit the ribbon handle it can be hung on the Christmas tree!

I'm sharing on 


As with all of my projects, I have designed them for my family and love to share with you so you can have them for your families as well. All projects, patterns and directions are meant for your personal use and neither the patterns nor completed projects are to be used for monetary gain.
http://donkeyandthecarrot.blogspot.com/2010/12/christmas-bag-made-of-christmas-cards.html
ReplyDeletethank you for sharing!!!
Wow you are so talented!! I saw the link on Foivi's blog! Awesome idea :-)
ReplyDelete-Veronica
I have just been wondering if there was a good way to use up last year's cards and this is excellent! I'll just use another front for the bottom, and I'll only use fronts that aren't written on the back of. Most people don't write on the backs of the front when they send them to you anyway. It'll be a little more work to match/cut sizes but a better use of paper for us. Thanks so much!
ReplyDeleteVERY cute idea! Thanks!
ReplyDeletewhat a great idea, so clever......
ReplyDeleteYou got a very creative mind, sharing ideas like this.
ReplyDeleteHank Hendricks
Send gifts to Pakistan from UK
Send Gifts To Pakistan
ReplyDeletehttp://www.etohfabazaar.com/