

I've been making these for all of our steel water bottles for over a year now and it's a really adaptable project. I've been able to make them for the little sippy style all the way up to the 24 ounce talls. I take a bottle with me wherever I go and a lot of the time it's in my bag or on the floor of the car. I hated when it would get hair and weird fibers stuck to it. And even when I was able to keep it lint free, it would sweat like mad, and the ice would melt way too quickly. So a little (polar) fleece, cotton fabric, and velcro later my bottle cozy was born! Now my drinks stay cool, and my hands, bottle and bags stay dry!
You'll need:
Cotton fabric (perfect fat quarter project by the way!)
Fleece, any will do but Polar is best
Sheet of paper
Cutting tools
Basic sewing tools

Set your bottle up and wrap the paper around it. Cut it down so it's at the same height as the lip of the bottle. Also make sure your paper overlaps, if not grab another sheet and some tape and extended it so it's long enough to overlap about 2 inches.

Now use that as your pattern and cut out one each of the fabric and the fleece. It easiest if you have a rotery cutter and you can cut them together.

Now with the right sides together, sew around the left bottom corner all the way to the right bottom corner. Leave most of the bottom open.
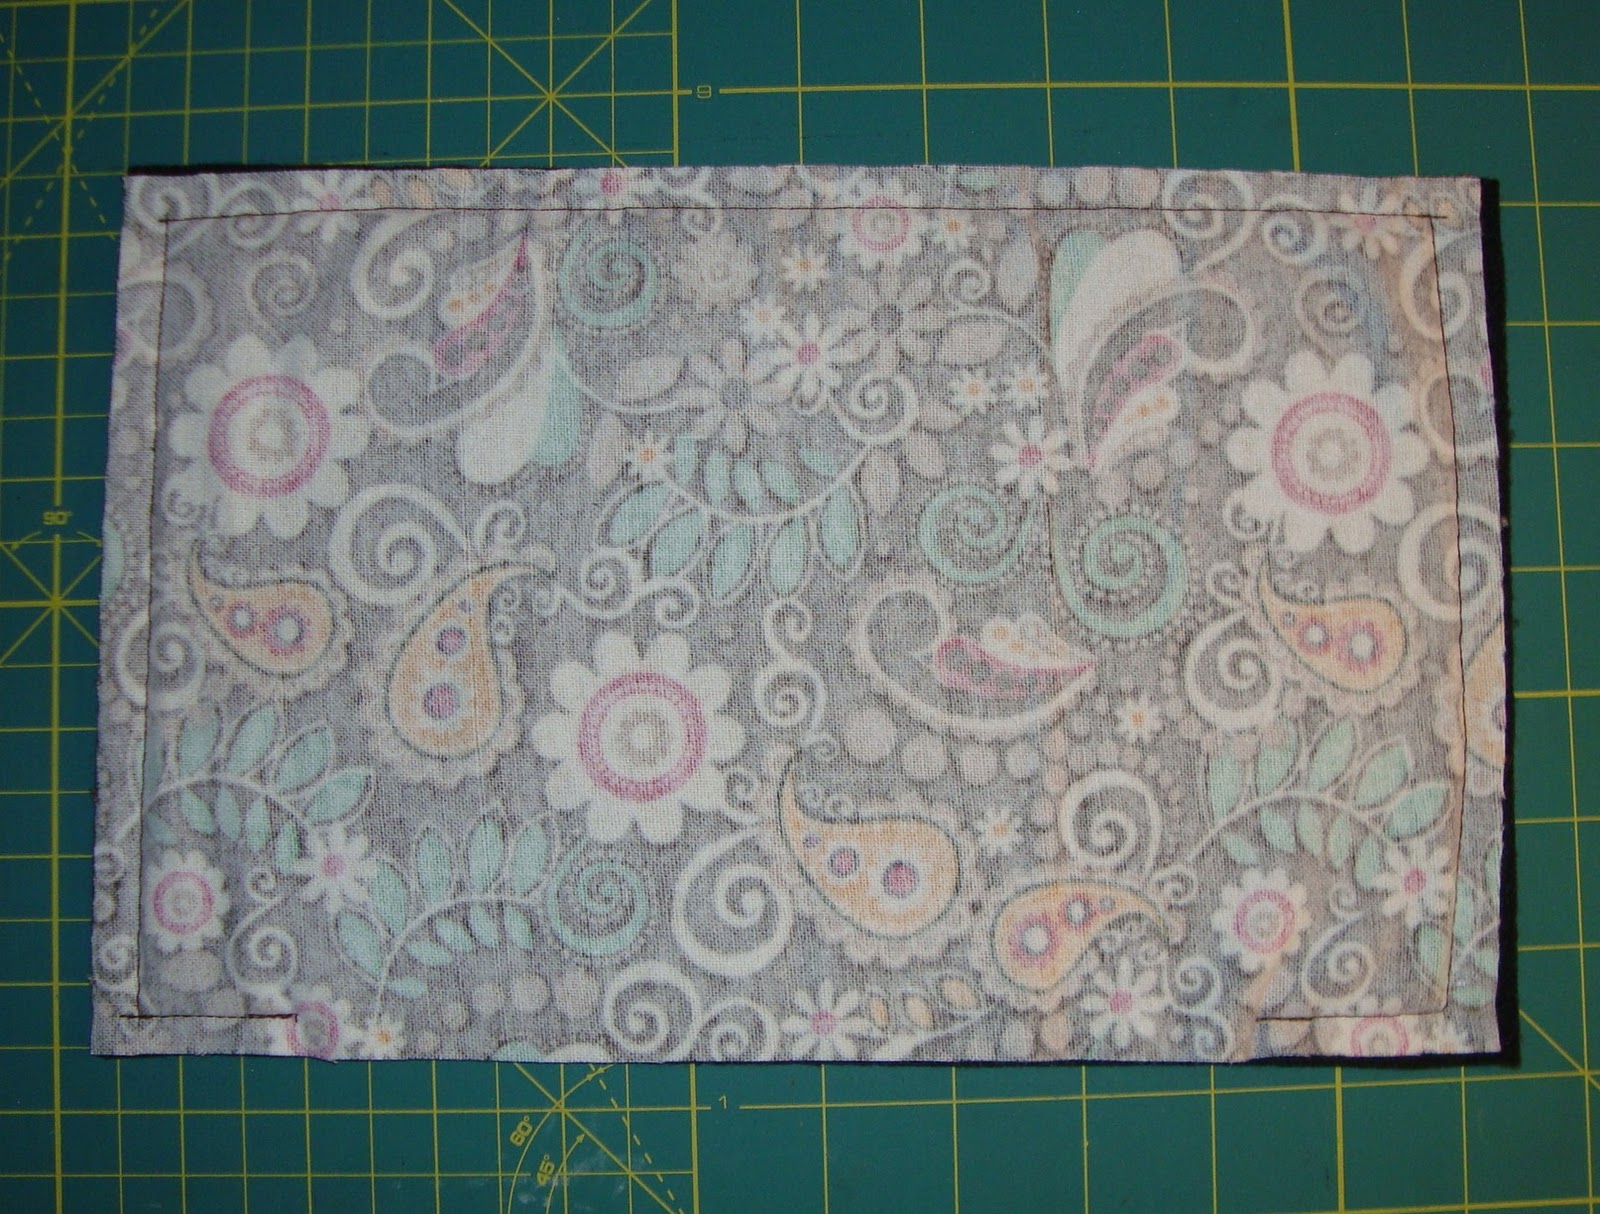
Clip the corners and excess fleece from around the edges to reduce bulk.

Flip and press out corners with a pencil or chopstick or really any small pokey object you have around. Press the edges down. You can iron it but I usually just smooth it down by hand.

Tuck the raw edges in and sew all the way across the bottom.

Now wrap it around your bottle and mark where you want your soft velcro peices.

Sew on soft velcro to body of the cozy.

Sew on rough velcro to edge of the cozy.

It should now look like this when laying flat.

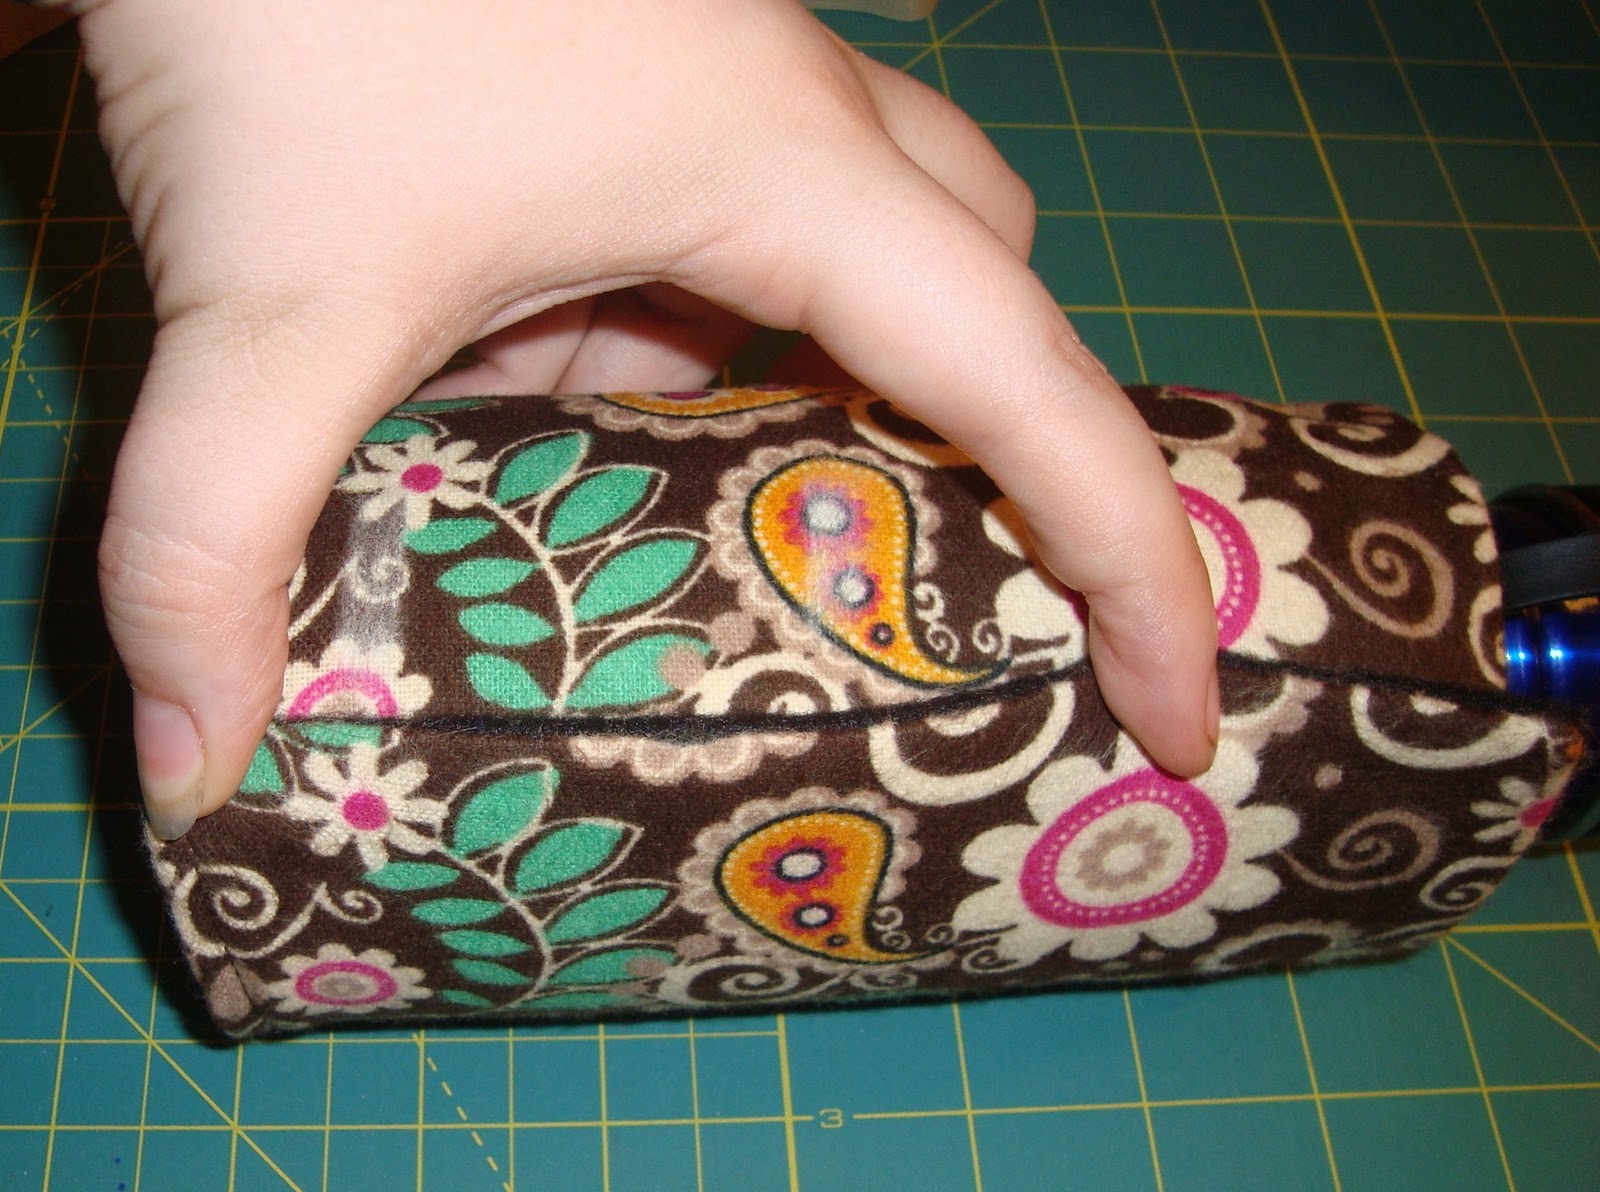
And like that when it's on your bottle.

You could leave it just like this, which I've done for over a year or take it one step father and grab some elastic and sew it across the top. Make sure you stretch the elastic as you sew so it will pull in.


I really like adding the elastic top. It makes it look more put together. But it does work just as well without it.
Hope you enjoyed this tutorial, let me see if you make one!
Shared on


As with all of my projects, I have designed them for my family and love to share with you so you can have them for your families as well. All projects, patterns and directions are meant for your personal use and neither the patterns nor completed projects are to be used for monetary gain.
I think this is a great idea! Wanted to let you know that I submitted it to the M&T Spotlight: http://www.makeandtakes.com/spotlight.
ReplyDelete