
Peanut is in need of new play and PJ pants. I don't think I've ever bought her a pair of pants... except the ones that were with sets bought for birthdays or holidays. She/I have been given enough for normal use and I make the rest. Not being a fan of commercial patterns I make my own. For Peanut I make a new one about every 6 months as she is a teeny-tiny little munchkin. So I figured I would show you how I do that, without using a pair of already exsisting pants. You can google how to make baby/kids/toddler pants all day long and 99.8% of them will have you use a pair of exsisting pants as your starting point. My way, you kind of learn how to draft on your own a bit.
First I should mention that I'll let you know where I made simple little mistakes and what to do to fix them. This may seem daunting but once you do it the first time you'll see it is actually very simple. I would go as far as to say it's good even for a beginner. Second, I don't pin. Like, anything... ever. I used to though so feel free to pin as you need. I just hold the fabrics together and the edges stay together pretty darn well!
So here goes!
Measure your pants recepiant. Peanut's waist is 17 inches around, inseam is 12 inches and total lenght from hip to heel (which I call sideseam) is 18 inches.
With these measurments I know I need to add inches to all measurments to make the pattern.
I used craft wax paper, newspaper, poster board, or whatever I have around. If your lucky enough to have pattern paper, more power to you!
This is the shape you want.

This is how to figure it out. Using a pencil first, draw your top waist piece, this pattern is half of a whole so say your waist measurment is 17 inches, round up to 20 then divide by 4. So your top waist line should be at least 5 inches.
For the rear/groin area take the total sideseam measurment and subtract the inseam, in this case, 18 minus 12. The drop down line needs to be about 2 inches longer than the total, so the drop down line in this case needs to be at least 8 inches long. The curve I usually make about 2 inches in.
For the next line you'll be making the inseam. Peanut's inseam is 12 inches so I make the pattern inseam line 13 inches. Once you have the pattern done in pencil you can go over it in permanent marker and take a picture for future reference, then cut out your new pattern!
To use your pattern you are going to fold your fabric in quarters (fourths, whichever term you prefer). Lay your pattern with the straight side on the edge that contains both folds. (Now here is something important to remember: The pattern measurements are for a fabric that stretches a bit, like jersey. If your fabric does not stretch, like flannel, put your pattern in about an inch from the folded edge to make the pants a little bigger to make sure the pants wearer won't rip the seams when they go to sit down. Again experience!)

Now the easiest way I've found to cut out the fabric is to use my rotary cutter and acrylic ruler. I lay the acrylic ruler down along the very edge of te pattern so as not to cut it. First cutting the long side, then top the rear/groin area. Once it's cut out you should have two pieces that look just like these. (If by some chance you accidentally cut the center seam and ended up with 4 pieces exactly like your patter don't fret you can fix it! Simply sew the pieces together so they do make this. Sew with about 1/4 inch seam though as not to make the pants much smaller. Aren't you loving learning from my mistakes?)

Now you are going to put the piece together right sides together and sew the "J's". Also, serge it if you've got it! If not a zig zag stitch at the edges with work.


Meet the two "J" seams in the middle, like so.

Laying them down flat, now you should have this.

I don't know about you but I really don't find hemming a fun task so I make my bottom hems now, before the legs are sewn into legs! For this, just serge (or zig zig) the raw edge. Then sew a half inch hem. Easy, yes?

Now, laying the pants flat like before, you're going to sew from one hemmed bottom to the other, continuous, and easy.

Again, serge or zigzag the raw edge.

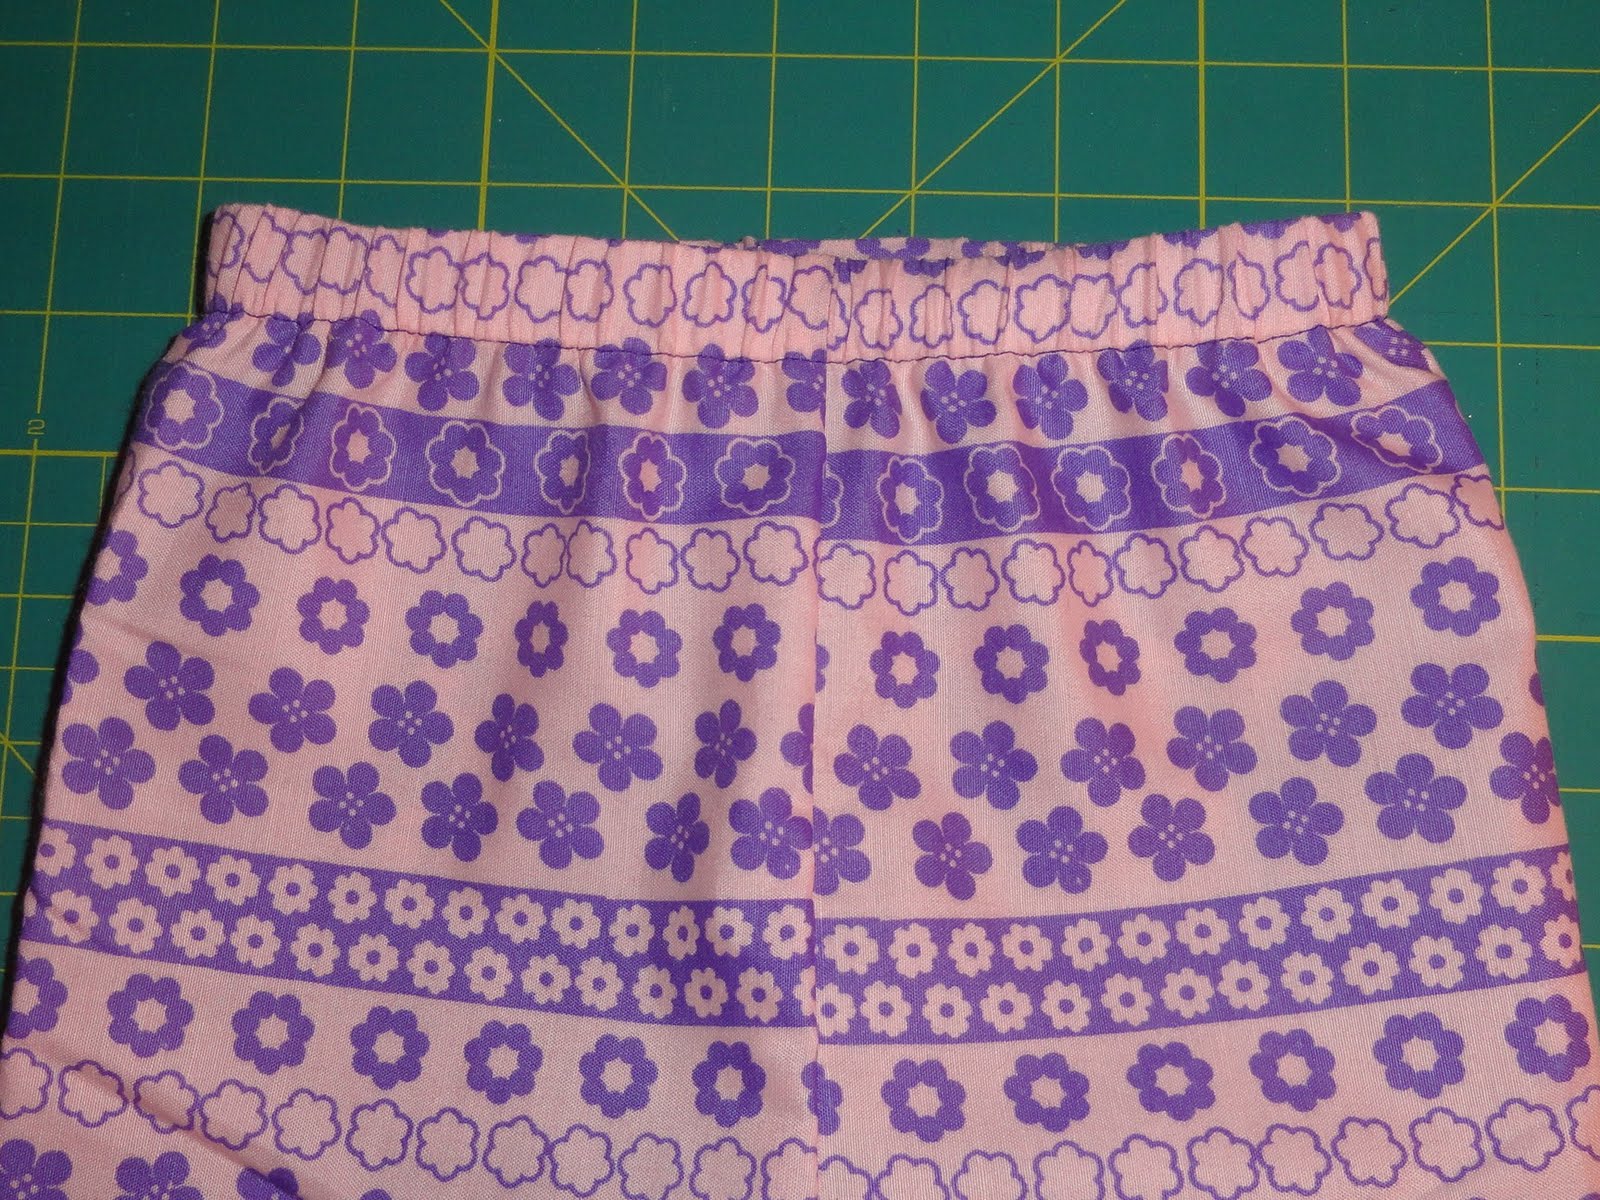
Now on to the last part, the waist band. I favor elastic so this is how to do that, if you get adventurous a drawstring works really nicely too. First serge or zig zag your top waist edge.

Since Peanut's waist is 17 inches I cut 17 inches of 3/4 inch wide elastic. Now I do the usual, fold over the edge to make a casing just a hair bigger than the elastic. Sew leaving about two inches open to insert the elastic, and run the elastic through with a safety pin. You can also use this method, which I've tried but still like the old way better. Maybe it'll get more natural the more I do it though!

You should end up with something like this,
You did, right? Of course you did! Now try them on their new owner!


Oh! And don't forget to keep your pattern in a safe place and mark it as to when you made it or what size it fits!
Sharing on


These are darling as is the cutie doing her happy dance!
ReplyDeleteWell that's too bad someone would be offended by something you said about yourself. I guess you really didn't need that person following after all!
Megan